Ubuntu is one of the most popular Linux distribution, and definitely my favorite. Basically, it is available in two versions:
- Ubuntu Server
- Ubuntu Desktop
As you may guess, the first one is more suitable for desktop PCs and has a very nice GUI. The latter is better to use it as a server machine (for example an http server) and by default has no GUI. We are though guys that don’t need GUI, so we are going to install Ubuntu server as a VirtualBox guest os to start playing with it.
Download
First of all download the ISO image from Ubuntu official site. If you go the url: https://ubuntu.com/ you should see something similar:
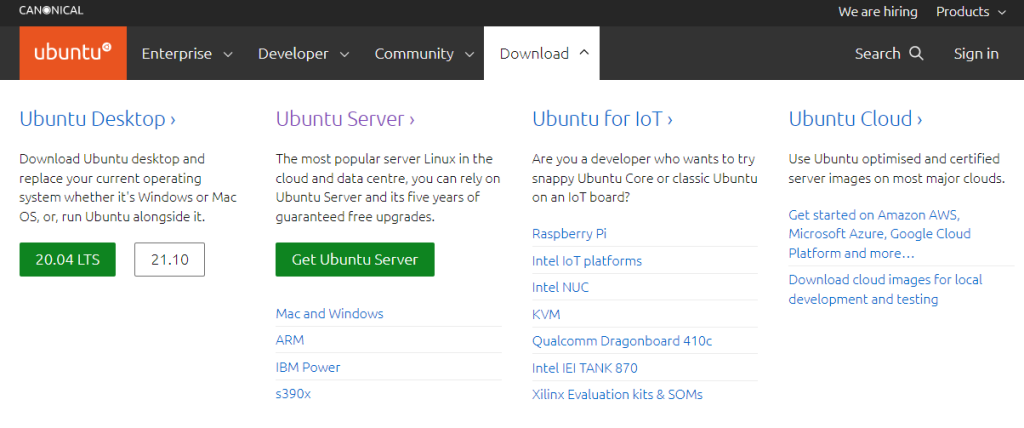
Click on “Download” and next on “Get Ubuntu Server”:
After that, you should see this page:
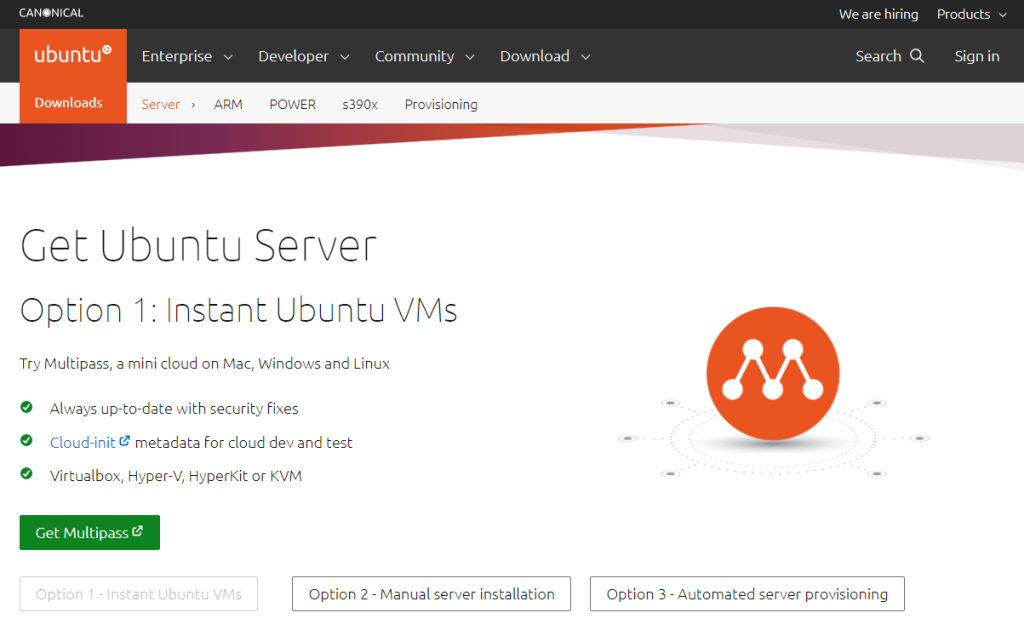
Click on “Option 2 – Manual server installation” to see the following page:
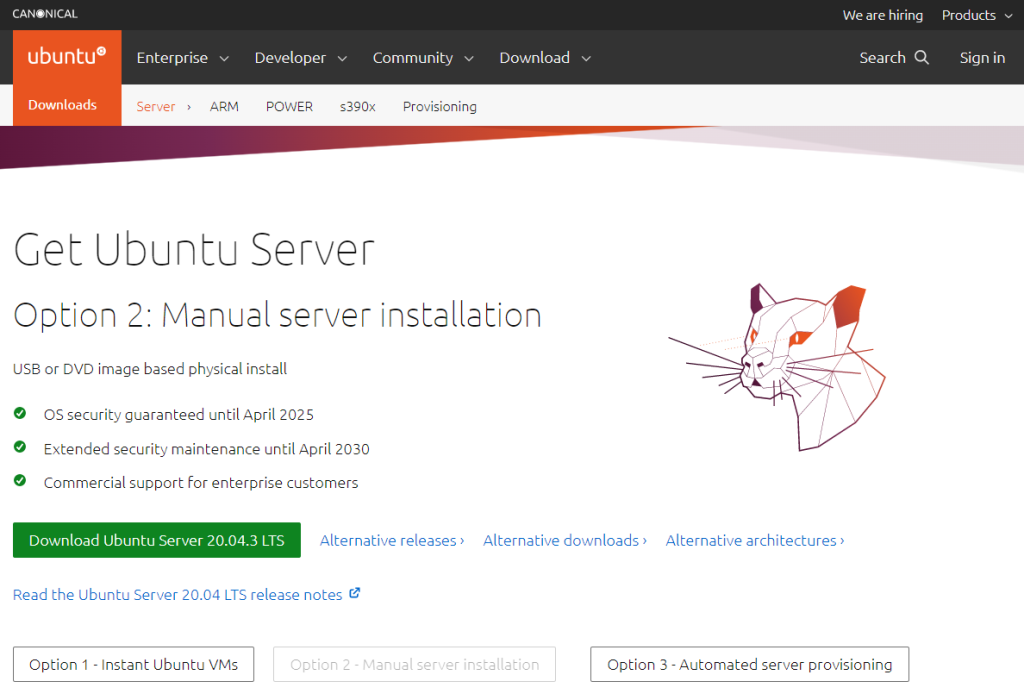
Now click on “Download Ubuntu Server 20.04.3 LTS” to start the download of the ISO image.
VirtualBox installation and virtual machine creation
As we said at the beginning of the post, we are going to install Ubuntu in a VirtualBox virtual machine. If you haven’t already, you need to install VirtualBox and create an empty virtual machine.
For these two operations you can refer to the following posts: How to install Oracle VirtualBox in a Windows PC and Install CentOS 8 as VirtualBox guest published on my blog.
Ubuntu Server setup
The installation of Ubuntu is quite simple and usually you can leave the proposed configuration. Below you can find some of the main configuration steps.
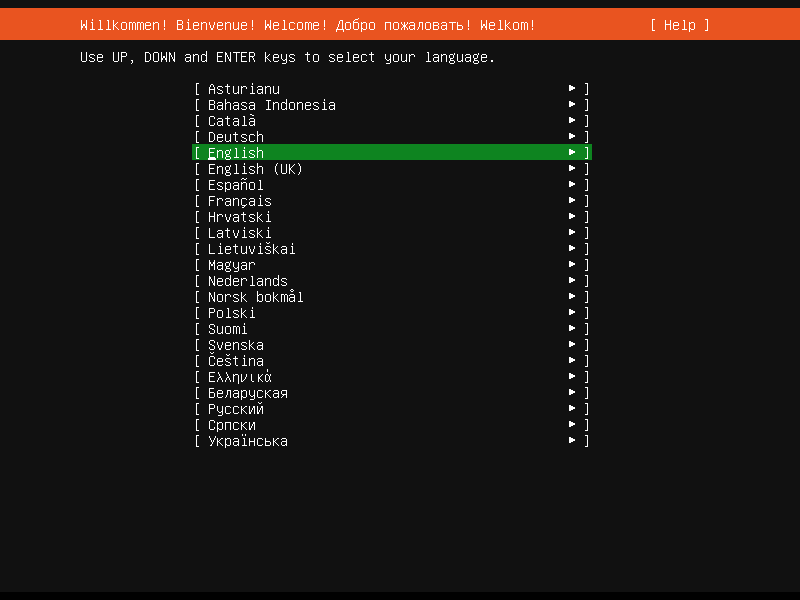
As first thing you have to choose the language in which to install the operating system.
Now select your keyboard layout:

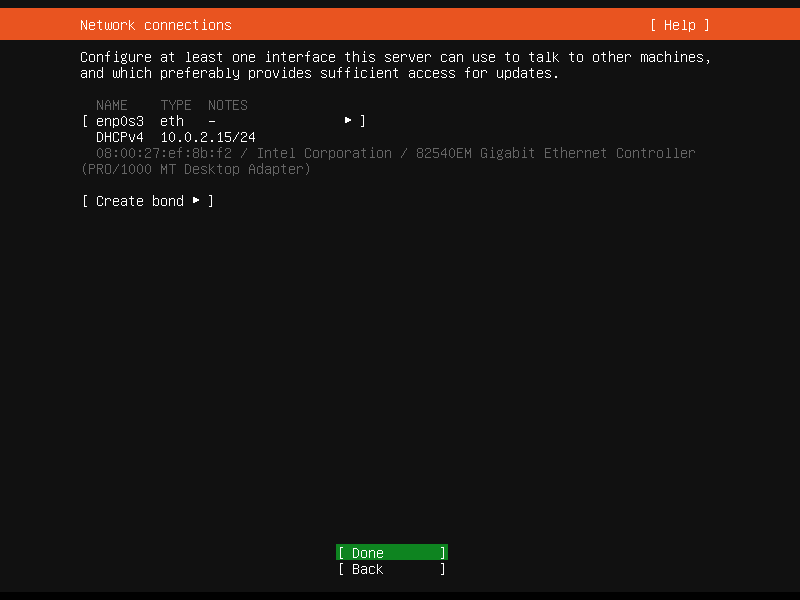
The setup will propose the following default network configuration. For our purpose is ok, so just confirm:
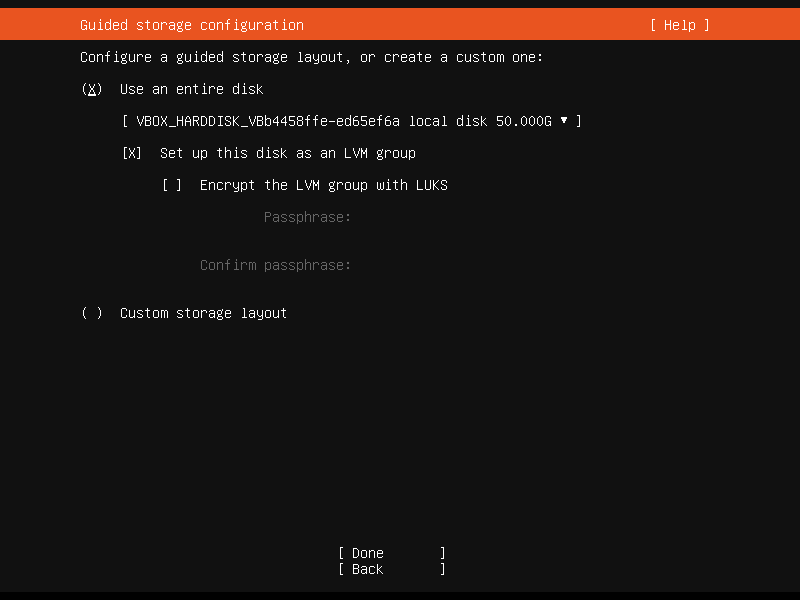
Here is the disk configuration:
In the next step you will be shown a summary of the hard disk configuration and then you will be asked to confirm whether to proceed with deleting existing the data:
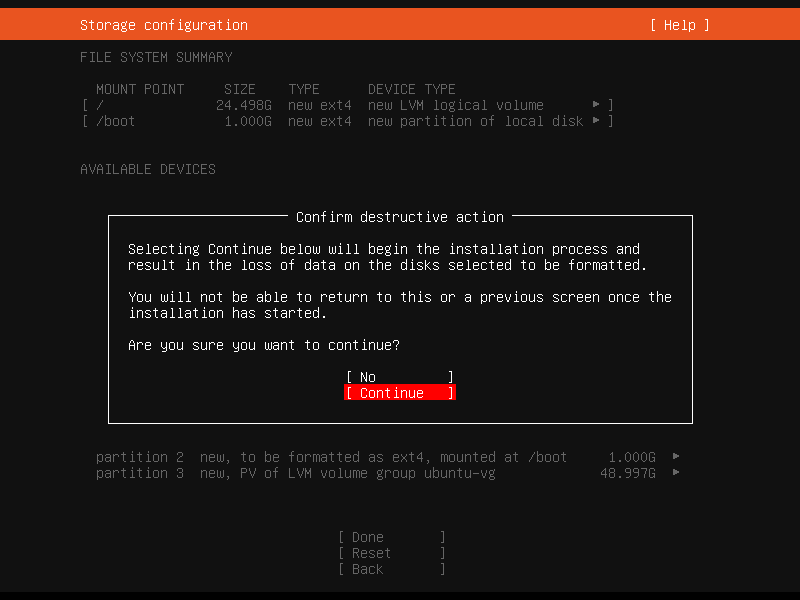
Our hard disk doesn’t contain any data, so we can proceed.
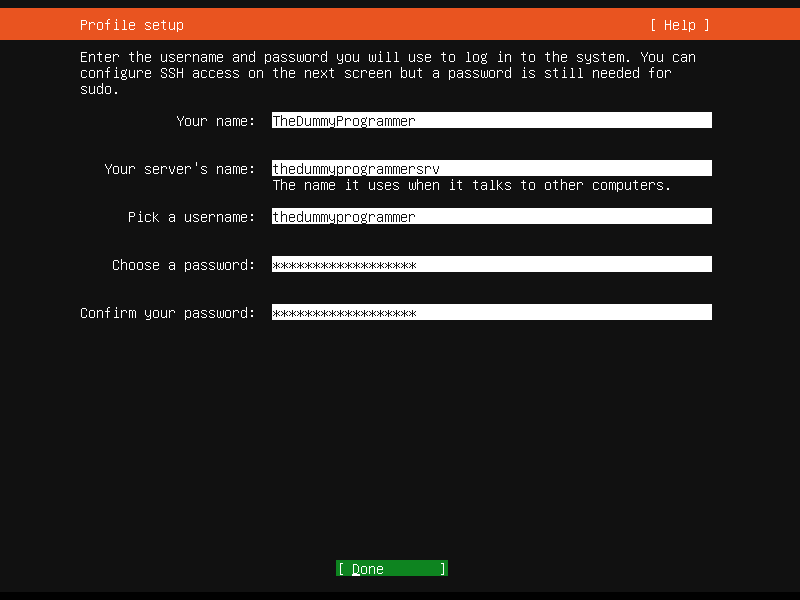
Now it’s time to configure your administrative user:
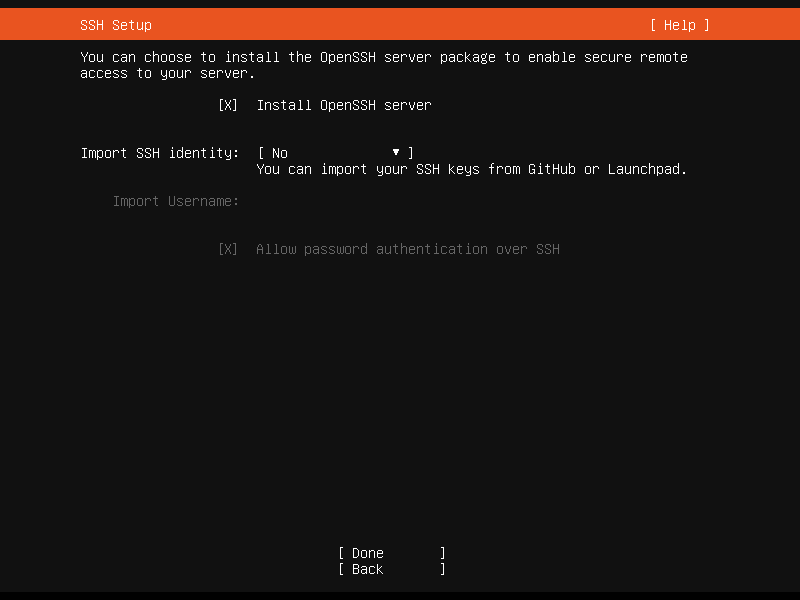
In the next step you will be asked to decide if you want to install an SSH server to remotely control your server. I usually install it.
When the setup is done with the installation, you will be asked to reboot to start your brand new Ubuntu Server.
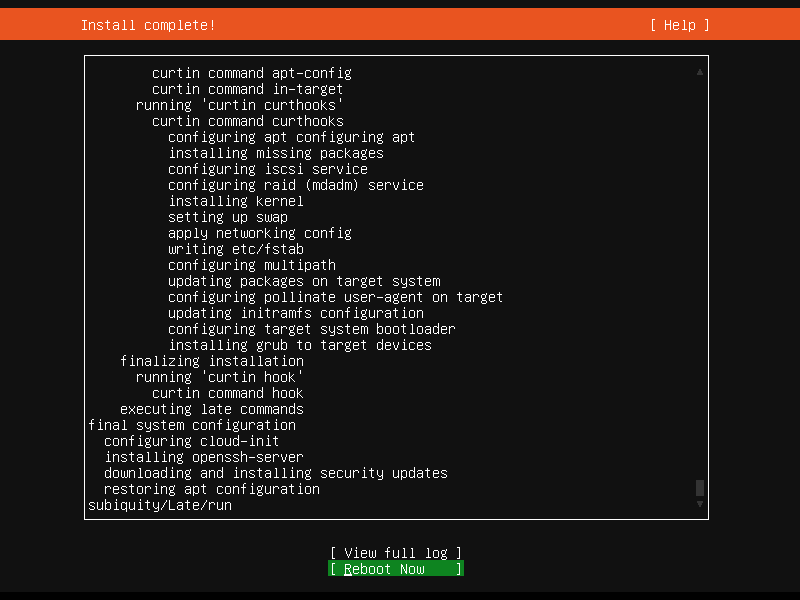
The installation is complete!
Below you can see the login prompt:
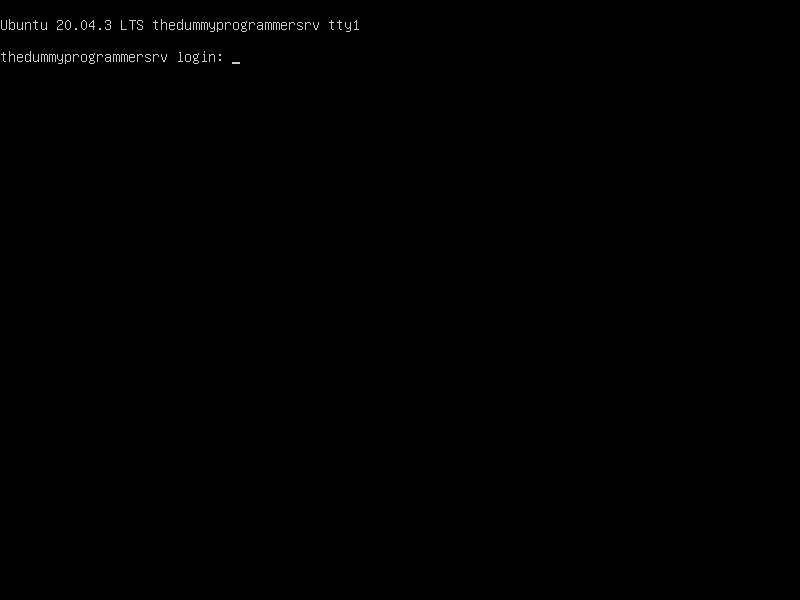
Insert the username and password you configured in the installation process to login.
In the next posts we will see some basic Linux commands and we will configure a LAMP server to host a WordPress instance. We will see some good ones… stay tuned!