LAMP is one of the most popular platforms for the development and publication of websites. As many of you know, it’s an acronym that stands for Linux Apache MySql and PHP. In a previuos post we saw how to install Ubuntu Server as a VirtualBox guest. Today we will take the necessary steps to make that Ubuntu Server installation a LAMP server.
How to install software in an Ubuntu system
The primary means by which to install software packages in an Ubuntu system is via the APT utility. APT is basically a package manager, with which you can manage the addition and removal of software packages and their dependencies. In this post we will see some basic commands of APT, but to know more I suggest you to check Ubuntu documentation.
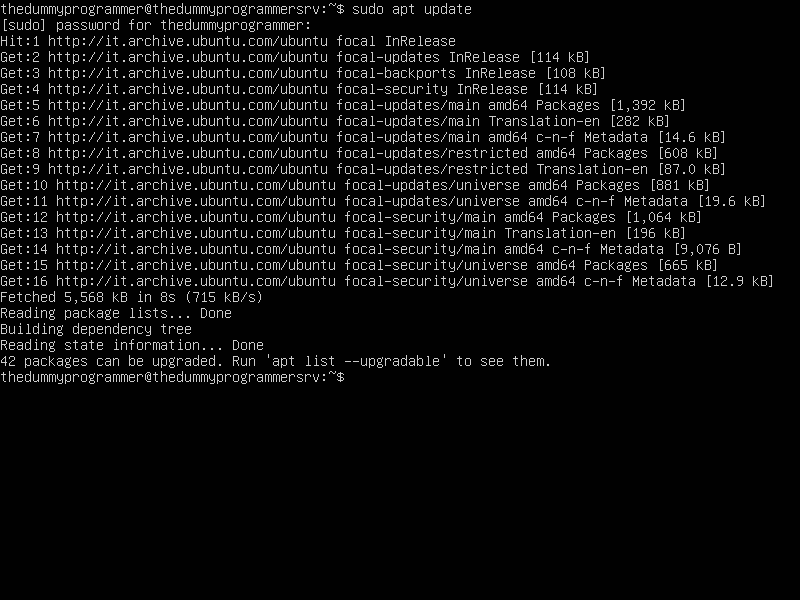
Before starting using APT, I suggest you to execute the following command:
sudo apt updateWhich will give the following output:

The above command does nothing but download an updated package list from the internet.
Now we can install LAMP in our Ubuntu Server. You can do this at least in two ways:
- Installing manually each component (Apache, MySql, PHP)
- Using a tool like Tasksel which takes care of the installation of all the needed components
In this post we will use the second “technique”.
What is Tasksel and how to install it
Let’s start by spending some words about Tasksel. The Ubuntu documentation defines it as follows:
Tasksel is a Debian/Ubuntu tool that installs multiple related packages as a co-ordinated “task” onto your system.
This is what we need: a tool that installs Apache, MySql and PHP in one shot.
Keep in mind that Tasksel can be used to install many other “related” software packages, but now we will use it to install LAMP.
To install Tasksel just execute the following command:
sudo apt install taskselThe installation
We can start with the installation of LAMP. Execute the following command:
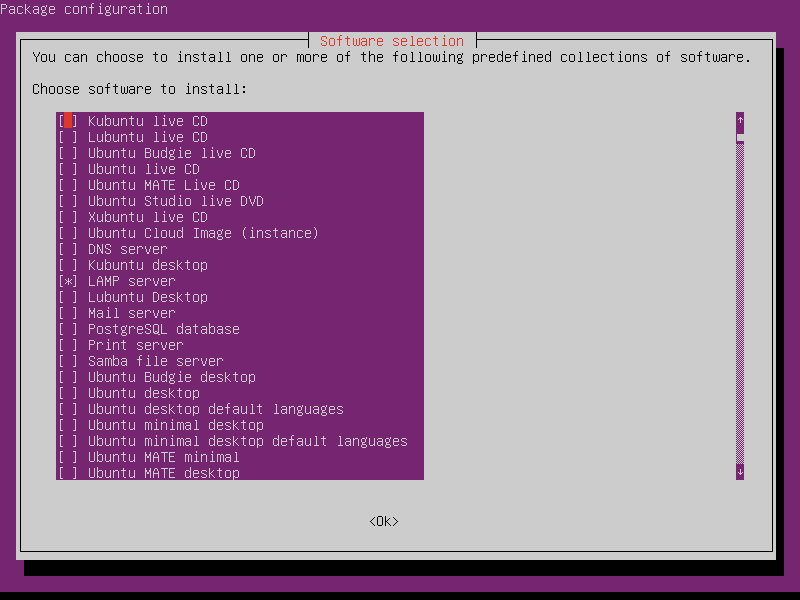
sudo taskselYou will see something similar:

In the screenshot above, you can see the list of all the packages that can be installed with Tasksel. As shown in the screenshot, select the item “LAMP server” and then select “Ok”.
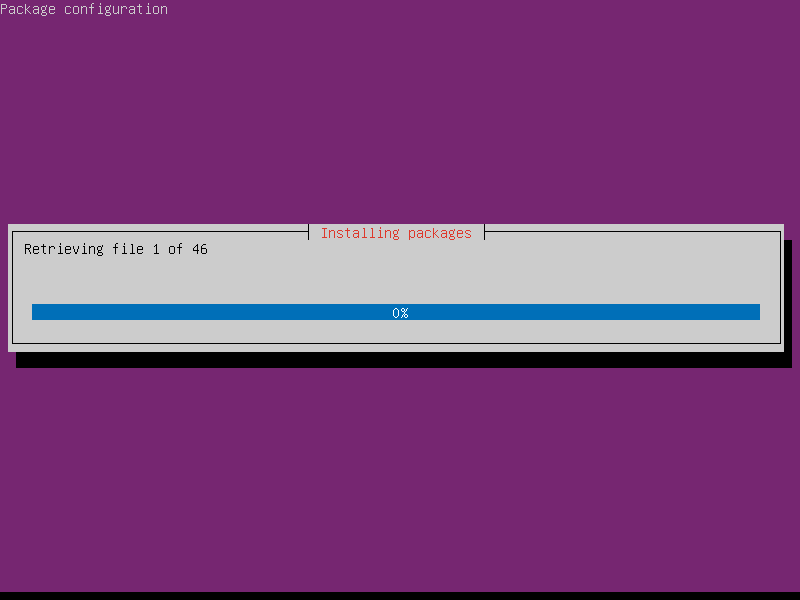
Tasksel will begin the installation, and you should see a progress bar to indicate the progress of the installation.

In a short time, you should see the installation completed.
Congratulations, you have just installed LAMP on your Ubuntu Server!
Check the installation
To check if the Apache is working correctly, we can call the Apache default page from our host operating system.
Remember that if the network configuration of your virtual machine is configured to work in NAT mode, you have to configure port forwarding to make Apache accessible from the host operating system.
The following screenshot shows how:

Here a brief explanation of the columns:
- Column “Name”: is the name of the forwarding rule, you can insert whatever you want; I suggest to write a short description that recalls what are you trying to accomplish
- Column “Host IP”: you can insert the address of “Ethernet adapter VirtualBox Host-Only Network”, which in my case is 192.168.1.90. I’m using a Windows 11 host, so in my case to know which IP address to use I had to open a command prompt and execute the command “ipconfig”, as you can see below:

- “Host port” is the external TCP/IP port you want to map to the virtual machine in the VirtualBox NAT
- “Guest IP”: is the IP address of the virtual machine behind the NAT, which in my case is 10.0.2.15. The guest operating system is Ubuntu Server, so I used the shell command “ip addr” to know which IP address has been used:

- “Guest Port”: is the internal TCP/IP port of your virtual machine you want to map: since Apache is listening to ports 80 and 443 you have to use those ports
Now open a browser in your host PC and try to reach the address http://192.168.1.90. You will se the Apache default page:

If you see the above page, Apache is working correctly. I hope this guide was useful… in the next post we will see other aspects of configuring a LAMP environment using Ubuntu Server.
Don’t miss it!