I’m sure you’ve already heard of .NET 6’s cross platform capabilities. Using this platform you can develop a software once and execute on different operating systems. But even with this inherent feature of .NET 6, developing desktop applications, complete with graphical user interfaces, can be a problem. Windows Forms and WPF are two great libraries for creating user interfaces, but if you use them you will necessarily be tied to Windows.
This is where Avalonia UI comes into play …
What is Avalonia UI?
Avalonia UI (from now simply Avalonia) is a free and open source cross platform .NET user interface framework. It has many similarities with the old good WPF developed by Microsoft, so if you know WPF you shouldn’t have problems using Avalonia. And since it’s cross platform, your applications can run not only in Windows, but also in Linux and MacOS.
You can find more info about Avalonia on the official website https://avaloniaui.net/.
An example project
In this post’s title we talked about an analog clock developed using Avalonia and .NET 6. You will not find a step by step guide on how to create such a program. Rather, we will see here a short tutorial on how to configure Visual Studio to create new Avalonia projects so you will be ready to download and execute the example program I prepared for you: precisely, a (simple) analog clock. Moreover, we will see how to configure an Ubuntu Linux desktop to run the analog clock (and of course all the programs you will develop with .NET 6 and Avalonia!).
Let’s start with Visual Studio
Visual Studio configuration is quite simple. You just have to install the Avalonia extension for Visual Studio which you can download from Visual Studio Marketplace at this address.
Note that if you are using Visual Studio 2022 this is the address you need to go. Since I’m using Visual Studio 2022, I will download the second extension. Here is the screenshot:
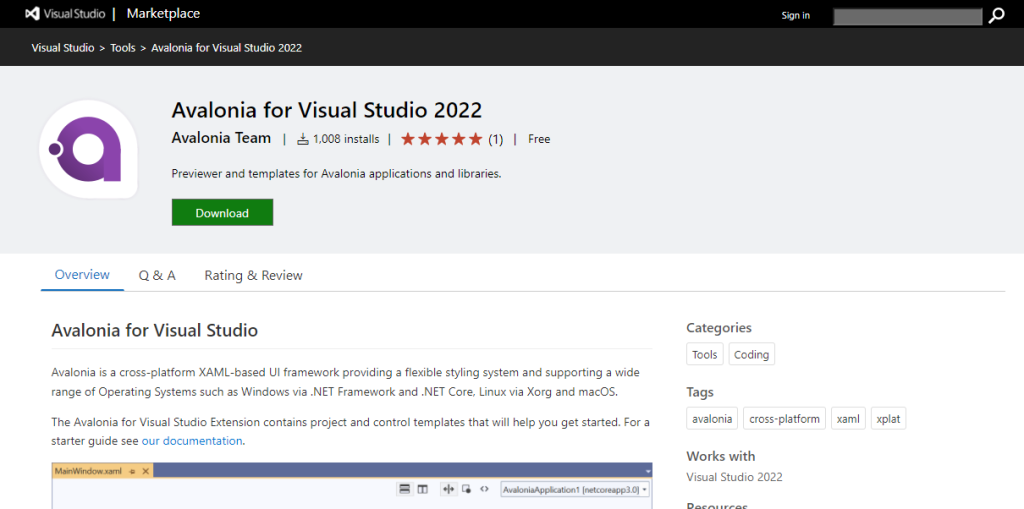
In the the market place page, click “Download” to begin the download of the extension. Double click the file you just downloaded and execute the installation. Once the installation is complete, if you try to create a new project, in Visual Studio you will have some new items in the project templates list, which are related to Avalonia projects:

Build and execute the analog clock
Now you can download the source code of TDP.Clock (The Dummy Programmer Clock), clicking here:
Extract the zip content to a folder of your choice, and double click the file TDP.Clock.sln to run Visual Studio 2022.

You should see something similar:
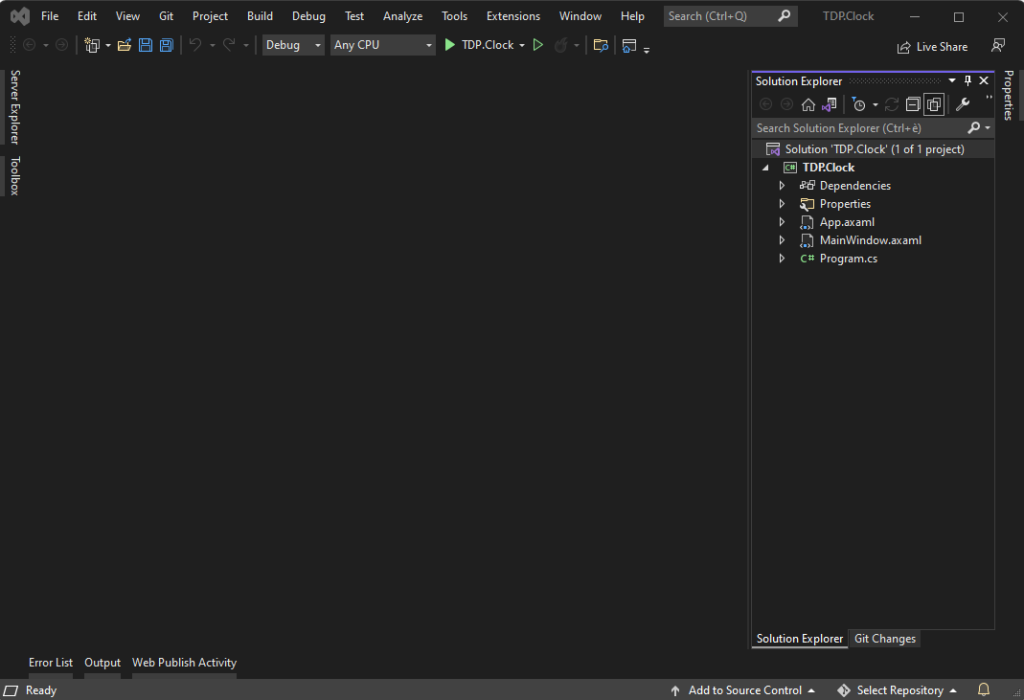
Press F5 to run the application. Here you can see the clock at work:
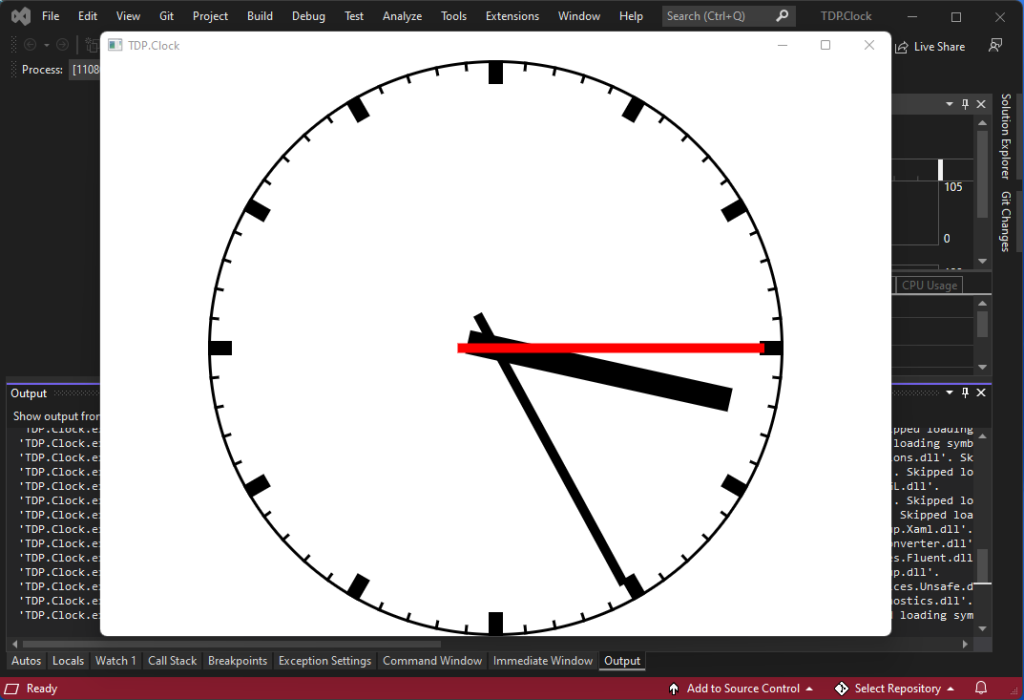
That’s it, your clock is running in your Windows PC. But how can you run it on a Linux machine by taking advantage of the cross platform features of .NET 6 and Avalonia? Let’s see it in the next paragraph…
Run the clock in Ubuntu Linux desktop
First of all, we need an Ubuntu Linux installation. You don’t need to buy a new computer. For this purpose, you could simply create a VirtualBox virtual machine. For the installation you can refer to these posts:
- How to install Oracle VirtualBox in a Windows PC
- Install CentOS 8 as VirtualBox guest
- Install Ubuntu Server as VirtualBox guest
These posts are not about installing Ubuntu Desktop, but the installation won’t change much compared to these others.
Install .NET 6 runtime in Ubuntu Linux
Given that you have an Ubuntu Desktop installation available, it’s time to install the .NET 6 runtime. Instructions about installation of .NET 6 can be found at this address: https://docs.microsoft.com/en-us/dotnet/core/install/linux.
First of all open a terminal:
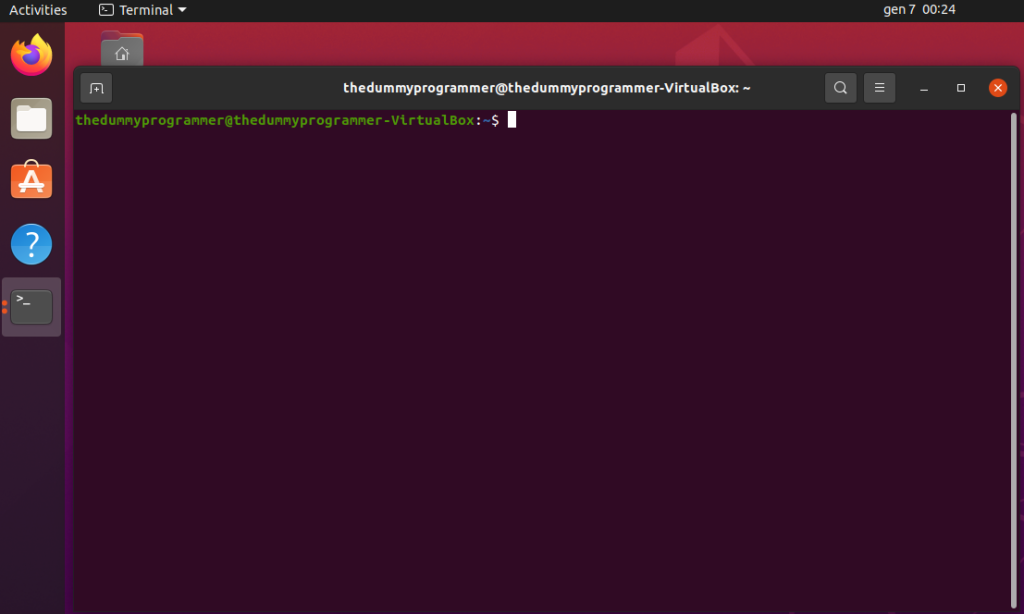
I’m working on Ubuntu Desktop 20.04 LTS, so here you will find instructions to install .NET 6 for this Linux version. If you are in doubt, you can discover your Linux version typing this command:
cat /etc/os-releaseTo install the .NET 6 runtime type these commands:
sudo wget https://packages.microsoft.com/config/ubuntu/20.04/packages-microsoft-prod.deb -O packages-microsoft-prod.deb
sudo dpkg -i packages-microsoft-prod.deb
sudo rm packages-microsoft-prod.deb
And then run the following commands:
sudo apt-get update; \
sudo apt-get install -y apt-transport-https && \
sudo apt-get update && \
sudo apt-get install -y aspnetcore-runtime-6.0
You may be wondering why we installed the package “aspnetcore-runtime-6.0”, and not simply the package “dotnet-runtime-6.0” which is enough to run our desktop program. The answer is simple: on my PC the installation didn’t work, as I received the infamous error “Unable to locate package dotnet-runtime-6.0”, as you can see in the following screenshot:

Error I didn’t get installing the package “aspnetcore-runtime-6.0”, which in addition to the ASP.NET runtime, also contains the base runtime we need to run the clock application. On my PC the installation took a few seconds, after completion, you will see something like this:

Now it’s time to copy the clock application in your Linux virtual machine and run it. But before we need a way to copy files between the host operating system and our virtual machine.
Copying files between the host operating system and the virtual machine
We want to run the clock application, so we need a way to copy the necessary files to the virtual machine. You could do this in several ways, but I believe the easiest way is to use VirtualBox’s “Shared folders” feature.
To use this feature, open the virtual machine’s settings and click on the section “Shared folders”, as you can see in the following screenshot. I highlighted with a red box the “Add” button, which you have to use to add a new folder. So click the “Add” button now.

Now you should see the “Add share” dialog box. In the screenshot is already filled with my configuration data (also remember to select the option “Auto-mount”).

With the configuration above, in your Linux virtual machine you will see a new folder under the path /mnt/vmshared. On the other hand, if you go to your host operating system in the corresponding folder, you will be able to copy files to this folder and see them magically appear in your Linux virtual machine.
Publish and run again
Go back to TDP.Clock project opened in Visual Studio, as we are going to publish the application. In order to do that, select the command “Publish” from the context menu of the project, as you can see in the following screenshot:

In the project is already present a publish profile, which publishes the application in the folder “{Your project path}\bin\Release\net6.0\publish”.
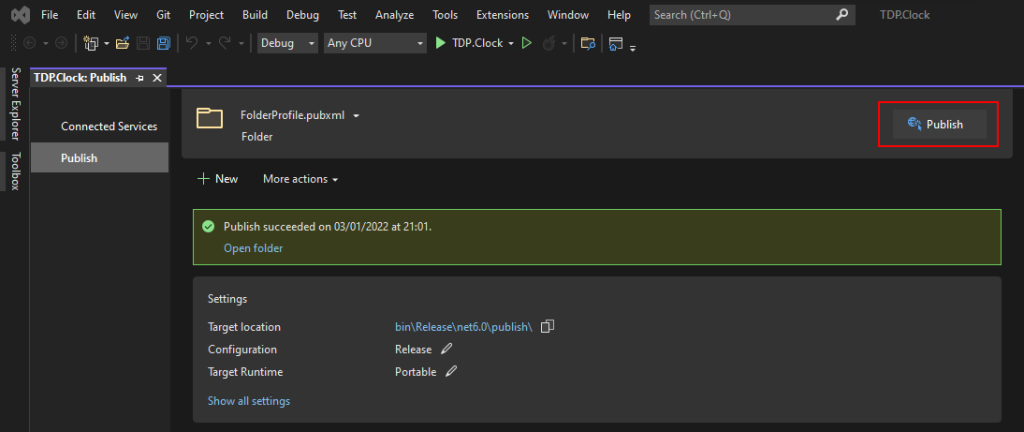
Just click on the “Publish” button to start the publish operation. Now copy the content of the folder “{Your project path}\bin\Release\net6.0\publish” to the shared folder of your virtual machine (in my case the folder “VMShared”).
Here is the folder as seen from the Linux machine:

Usually I don’t work directly into the shared folder, so I copied the folder “publish” to my desktop, renamed it in TDP.Clock and access it through a terminal.
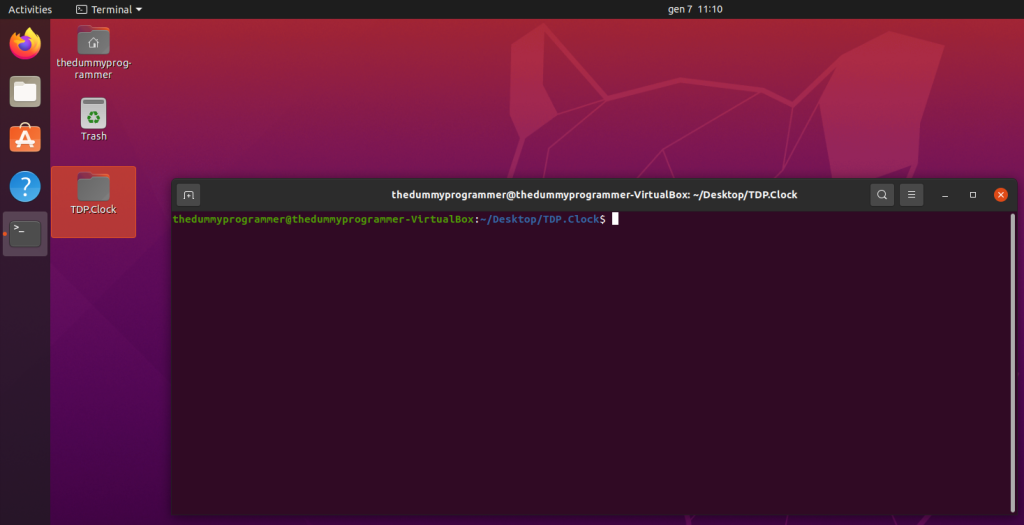
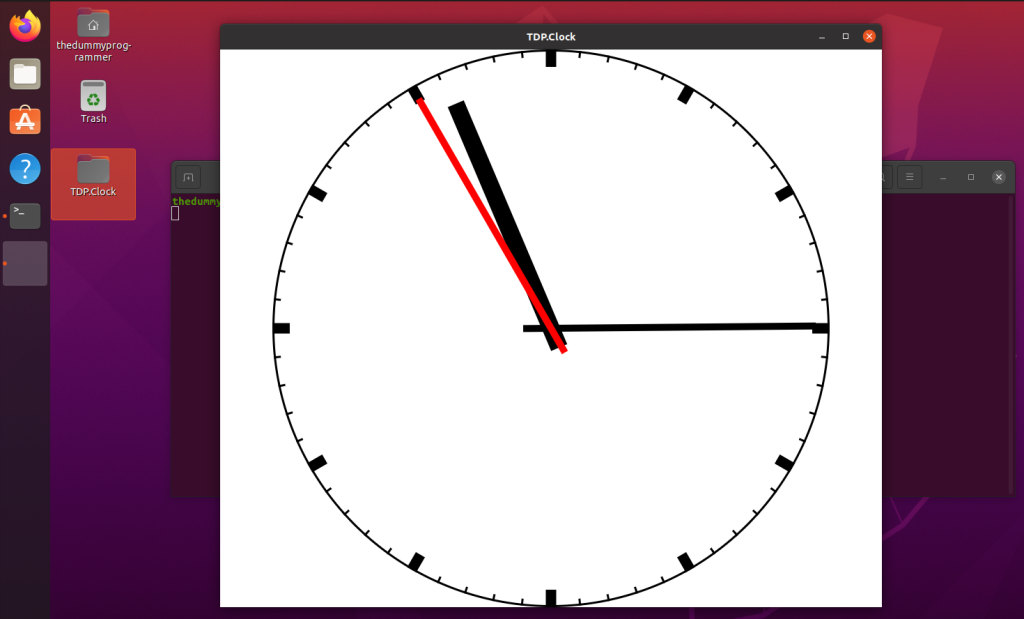
And now the long awaited moment. In the terminal, execute the following command:
dotnet TDP.Clock.dllAnd here you can see the clock running in Linux Ubuntu:
Conclusions
In this post we have seen how to configure Visual Studio to create an Avalonia project and demonstrated the cross platform capabilities of .NET 6 and Avalonia, running the same project on Windows and Linux.
I hope you enjoyed it … write me to let me know what you think!