As everyone knows, PHP is one of the most used server side languages on the web, and Windows is the dominating operating system for desktop PCs. So I think that a quick summary on how to configure a PHP development environment in Windows could be useful. In this post we will use the last version of Windows: Windows 10.
IIS installation
By default, IIS (Internet Information Services, that is Microsoft’s web server software) is not installed. So the first step is to install it.
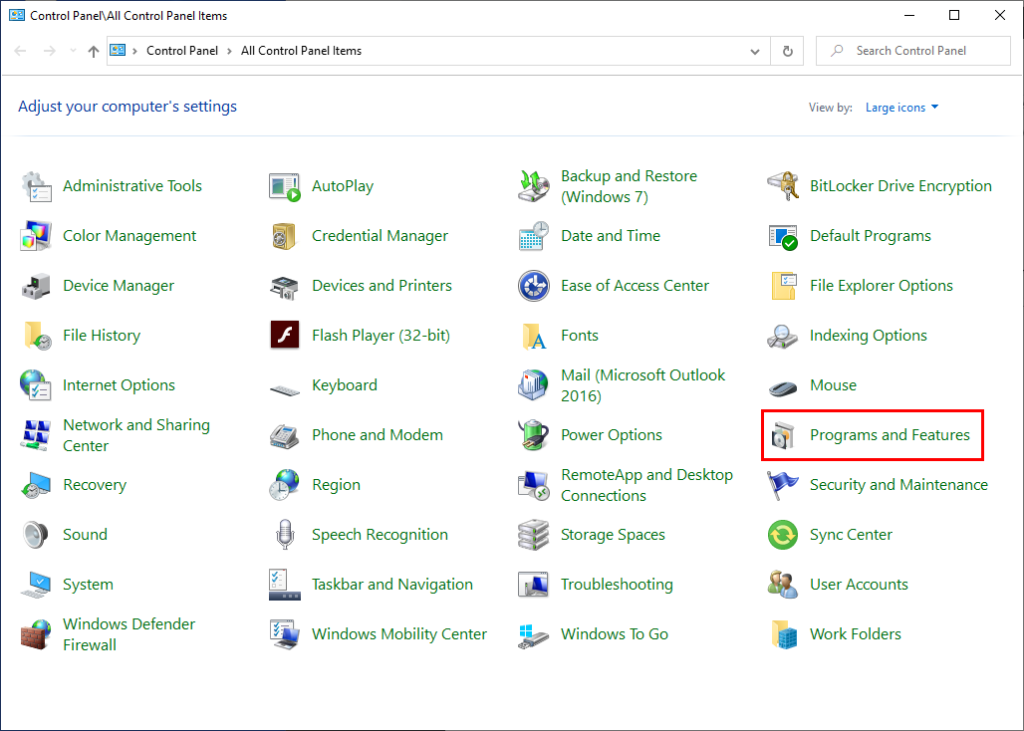
To do that, open the Window’s control panel and click on “Programs and feature”:
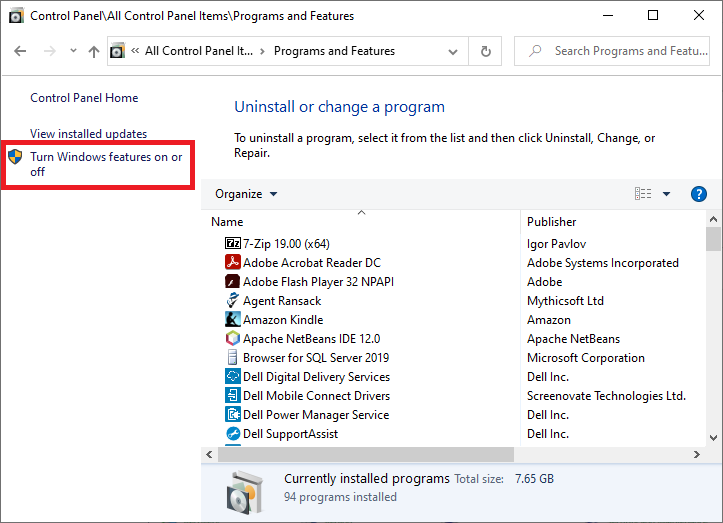
You will see the list of the currently installed programs on your PC. Click on “Turn Windows features on or off”.
A new window will appear with a list of Windows features that you can select. You can see in the red box the elements I have selected for the installation. To use PHP is important that you select “CGI”.
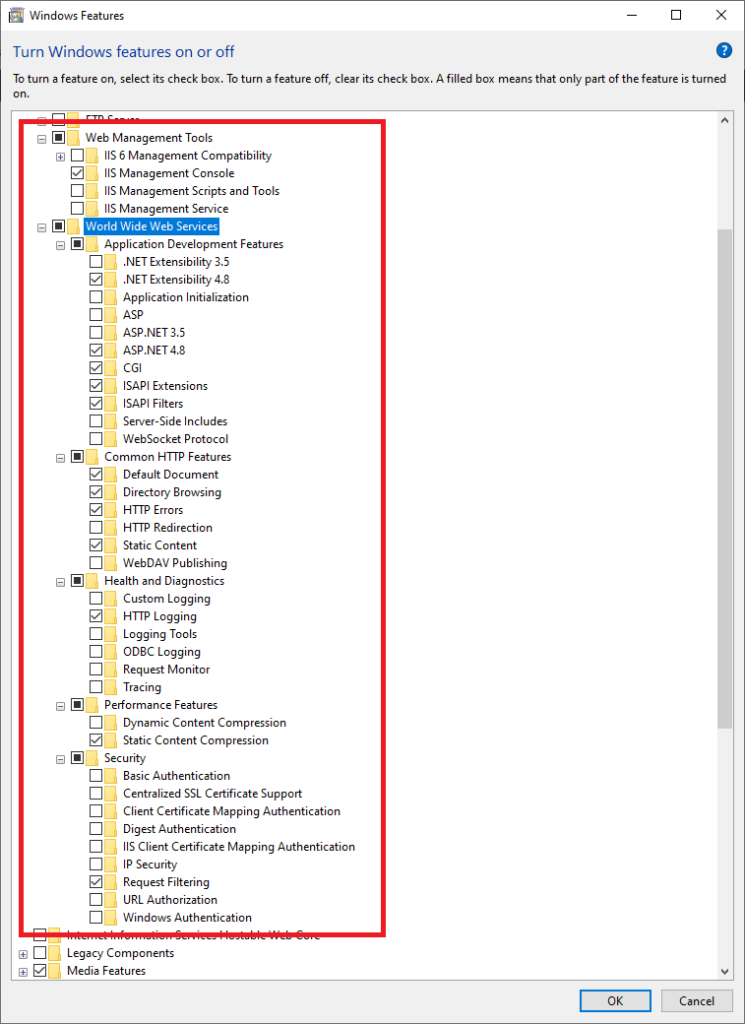
Now press “OK” to proceed with the installation.
PHP installation
To install the PHP runtime you could refer to this link from Microsoft:
In any case here are the necessary steps and some screenshot that should help for your installation.
First of all, download the zip containing the PHP runtime. You can download at this URL:
https://windows.php.net/download/
Below is an excerpt from the web page. In this moment, the latest version of PHP is 7.4.9, so we will download that version. Note that you have to choose the “Non Thread Safe” version. Click on the “Zip” link to download.

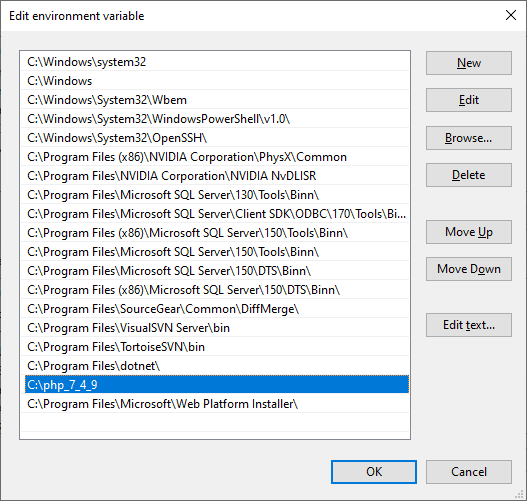
When the download is completed, extract the zip in the folder “C:\php_7_4_9” (or whatever folder you prefer). Remember to rename the file “php.ini-development” in “php.ini”.
Now we have to put the folder we just created in the “PATH” environment variable. To do that, follow these steps:
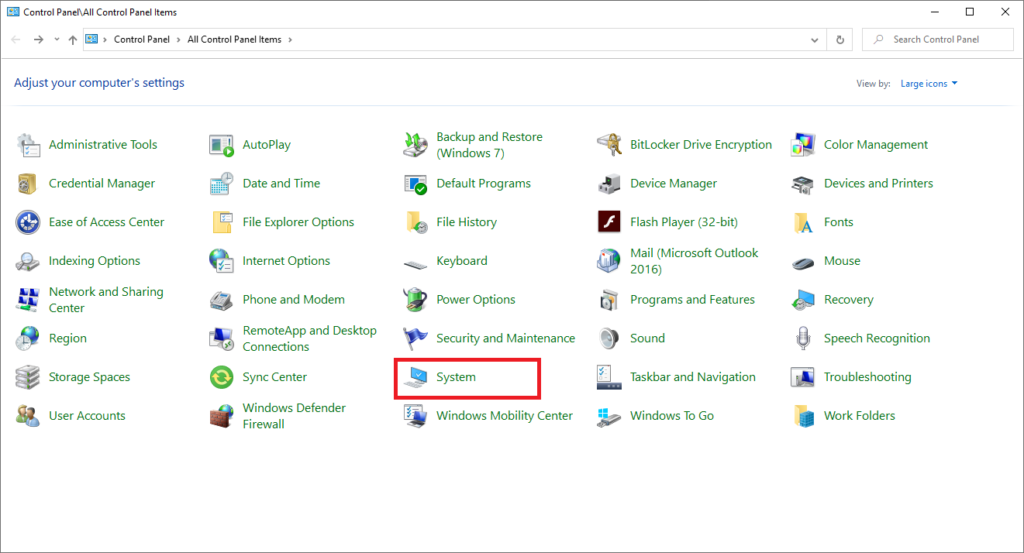
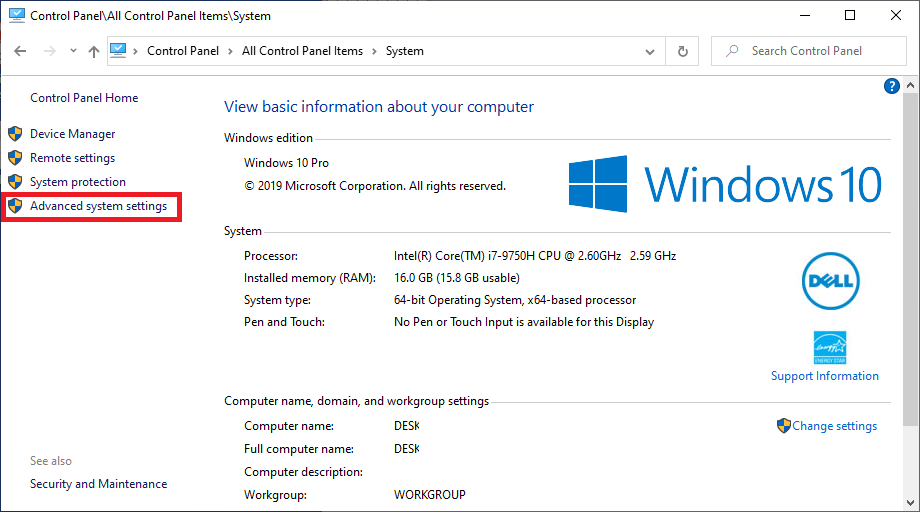
Open Windows control panel again, and this time click on “System”:
You will see the following window, where you have to click on “Advanced system setting”.
The “System properties” window will appear:
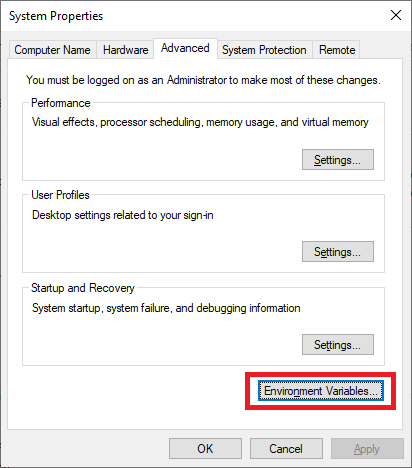
Now click on the button “Environment variables…” to show the following window:
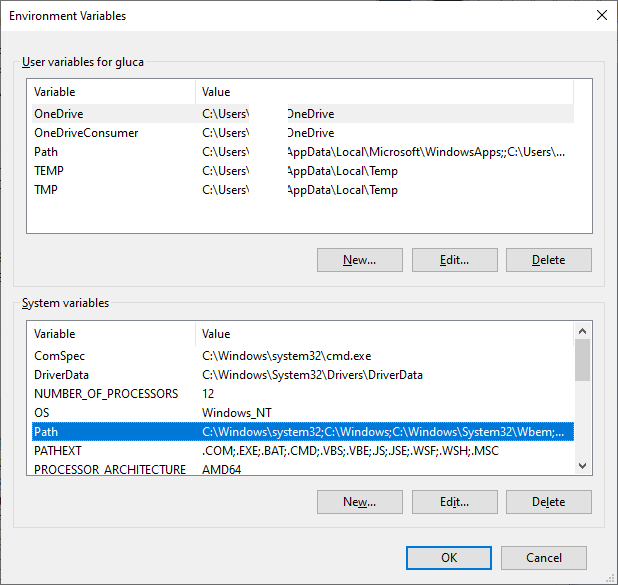
In the frame “System variables” select the row containing the variable “Path” and click “Edit”. In the following window, click “New” to add a new item with the path of the php runtime. As you can see below, I have already added my path.
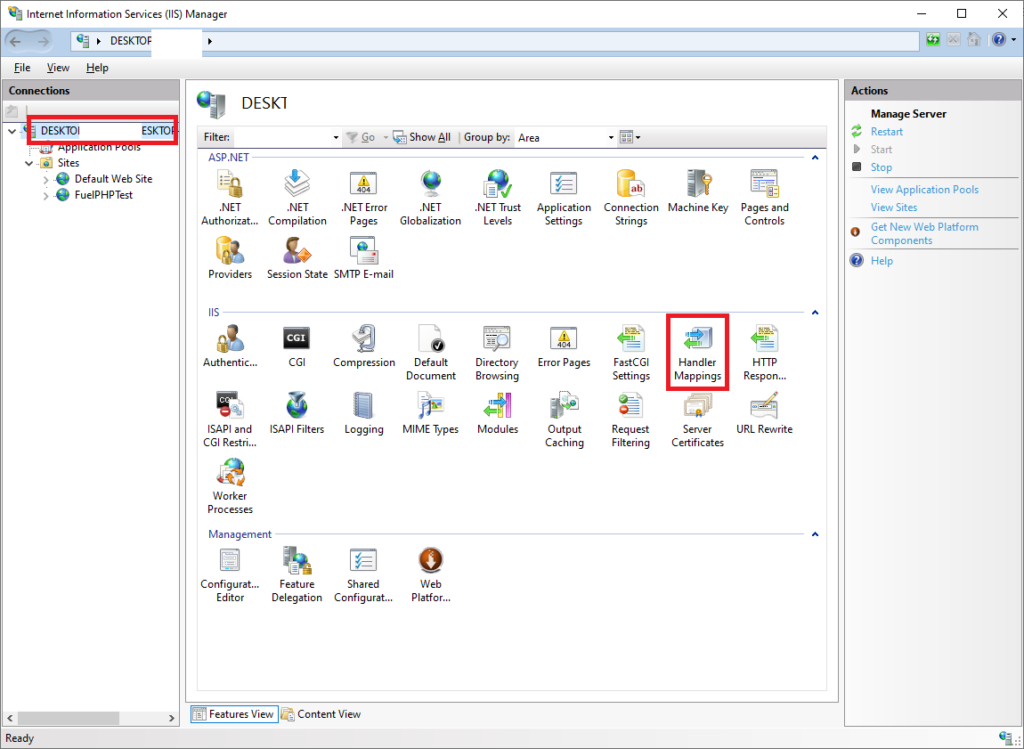
Now that you configured the environment “PATH” variable, there is one more step: IIS configuration. To complete this step, run IIS Manager. When IIS Manager is running, click on your host name (the red box on the left) and then click on “Handler Mappings” (the red box on the right).
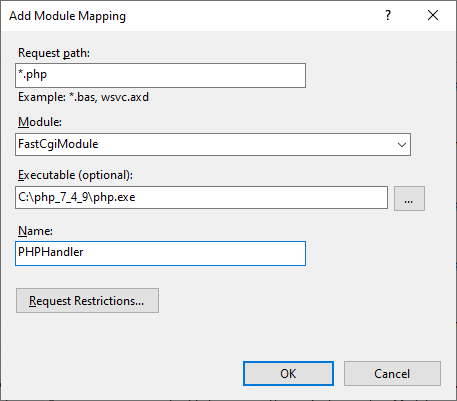
And here is the “Handler Mappings” window. Click on “Add Module Mapping…” on the right.

In the following window fill the fields as in the screenshot. Pay attention that you may have a different php runtime path. In my case is “C:\php_7_4_9”. Click “OK” to confirm.
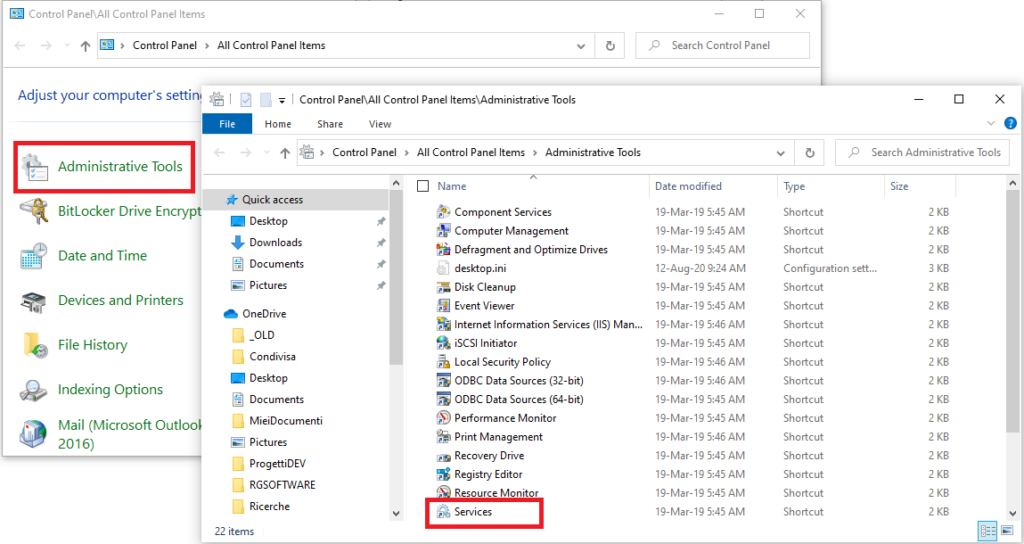
We are almost done… At this point I always prefer to restart IIS. From Windows control panel, click on “Administrative tools” and then “Services”.
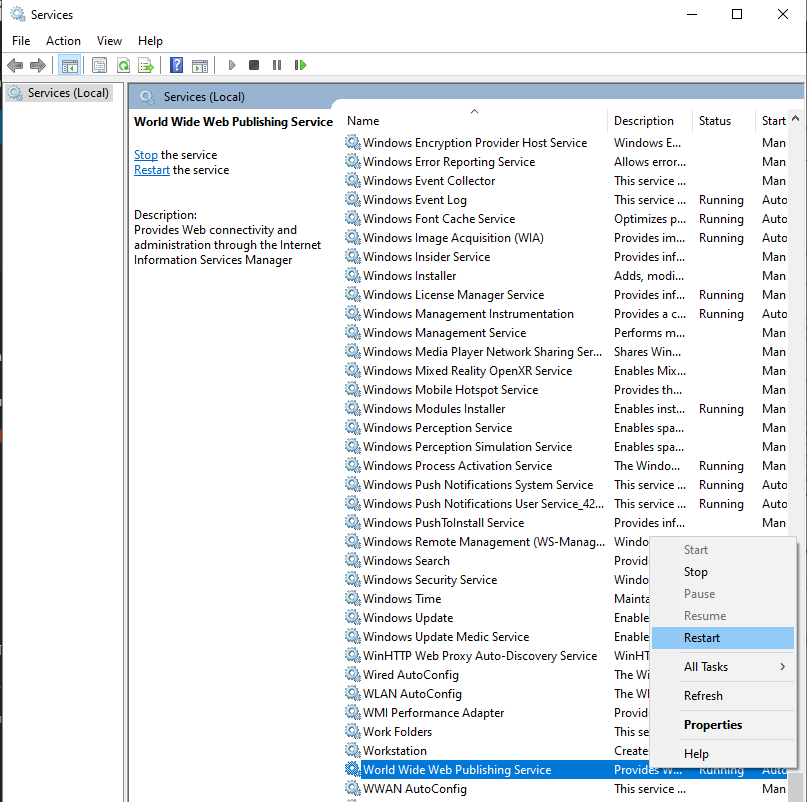
In the list of services, look for “World Wide Web Publishing Service”, click it to select the row and from the context menu click on “Restart”.
Now you are ready to create your first php script. With Notepad create a new text file called “test.php” with the following content:
<?php
phpInfo();
Put this file in IIS default website folder which, in my case, is “C:\inetpub\wwwroot”.
Run a browser and go to the url “http://localhost/test.php”. You should see the following:
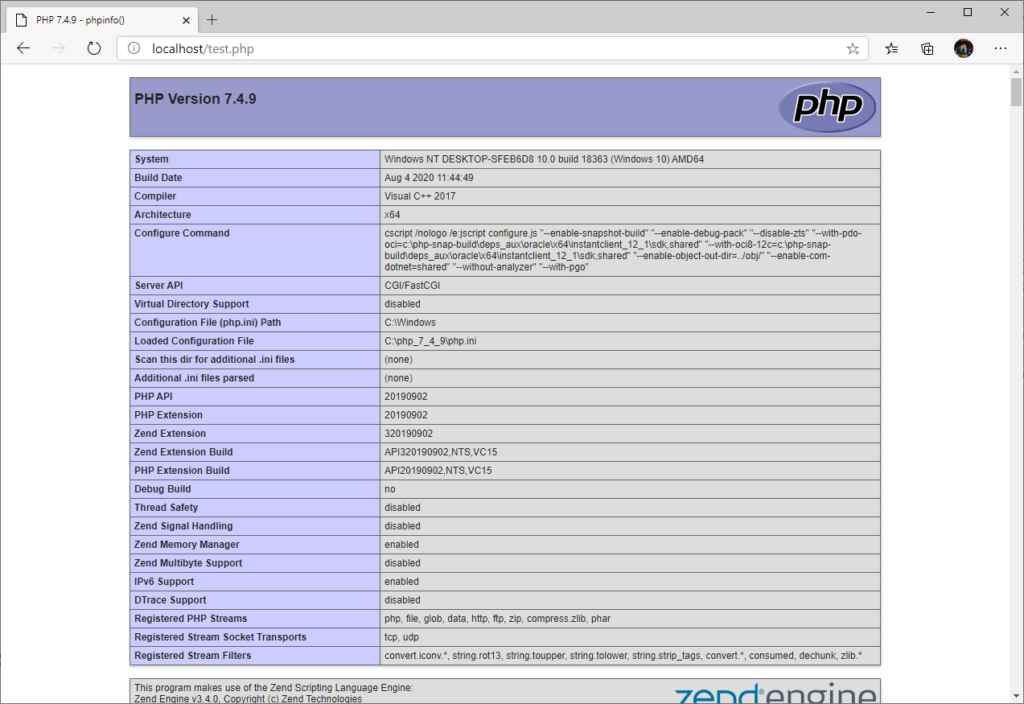
Congratulations, you are running PHP on your Windows PC!