Good morning my friends!
It’s been a while since our last contact, and I’m happy to be here again!
Today I want to talk about how to create a basic installation of Visual Studio Code, in order to create a simple TypeScript project. But before we begin, let’s review some basic concepts…
What are Visual Studio Code and TypeScript?
You can find a lot of information online about Visual Studio Code, so I won’t go into much here. In a nutshell, is a free source code editor created by Microsoft that can be used with a variety of language, among them C#, C++, Python, JavaScript, and, of course, TypeScript. It cross platform, since you can run it on Windows, Linux, and MacOS, and highly extensible with thousands of extensions that can be installed from a centralized repository.
Now let’s spend some words about TypeScript…
TypeScript is a language created and maintained by Microsoft which is essentially a superset of JavaScript, that transforms JavaScript into a strongly typed language, with all the advantages that this entails like, for example, the ability to enforce type checking at compile-time.
Installing Visual Studio Code
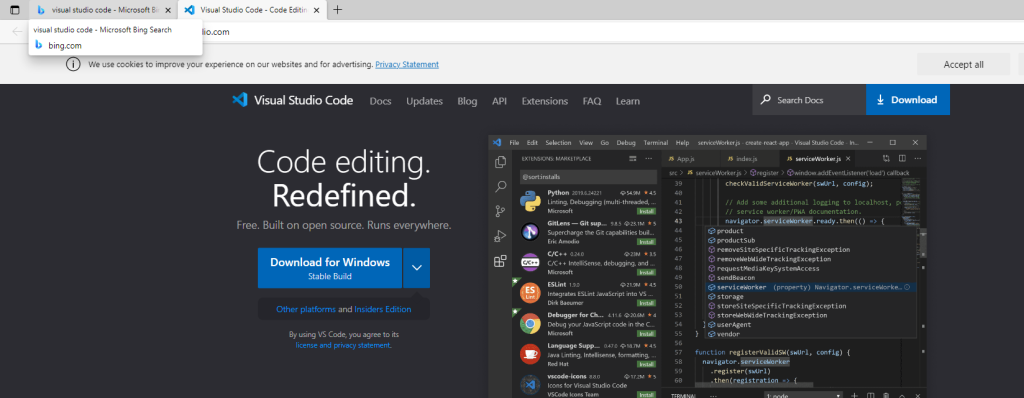
The installation of Visual Studio Code is quite simple, at least on Windows (I didn’t tried other OS yet). You can download the installation package at this url: https://code.visualstudio.com/.
Run the setup when the download has been completed. You should see something similar:
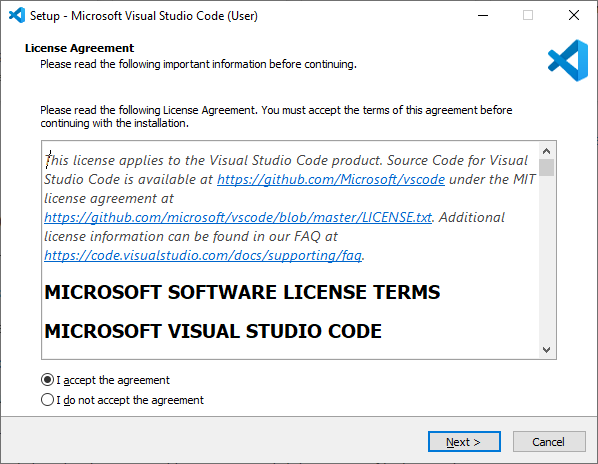
Click “Next” to go on:
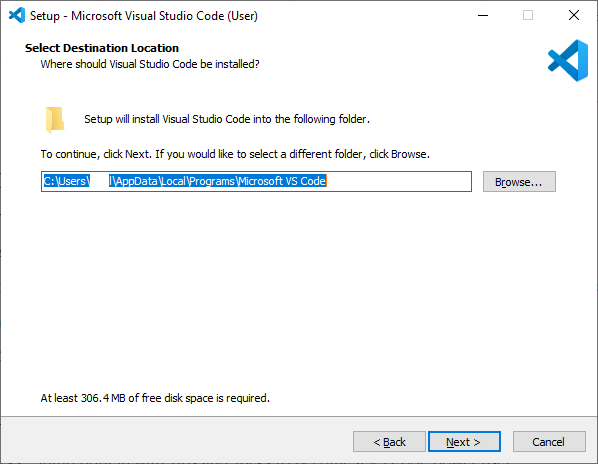
Choose you preferred installation path and click “Next”:
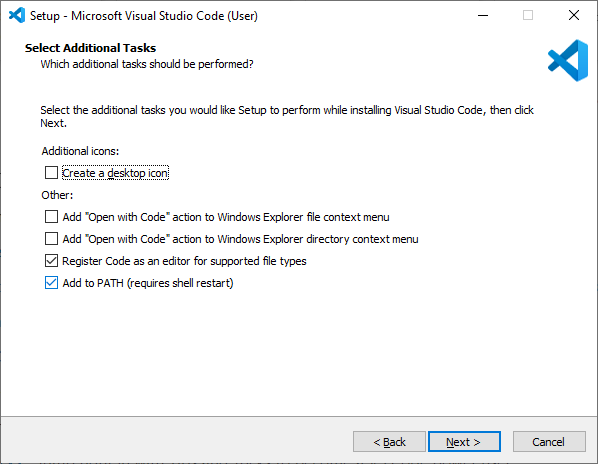
Again select your preferred options and click “Next”.
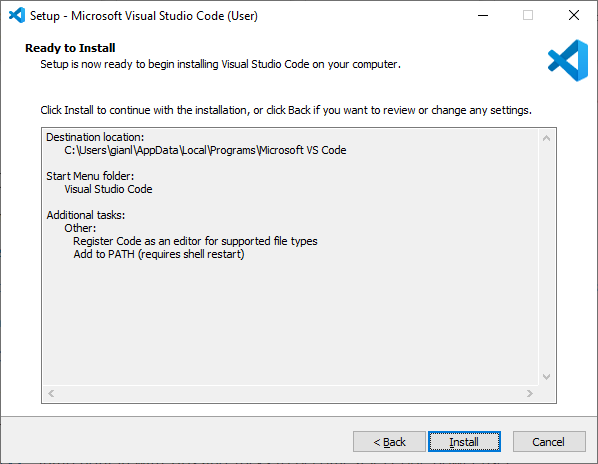
We are in the last step. Just click “Install” to begin the installation.
Now you are ready to launch your brand new code editor:
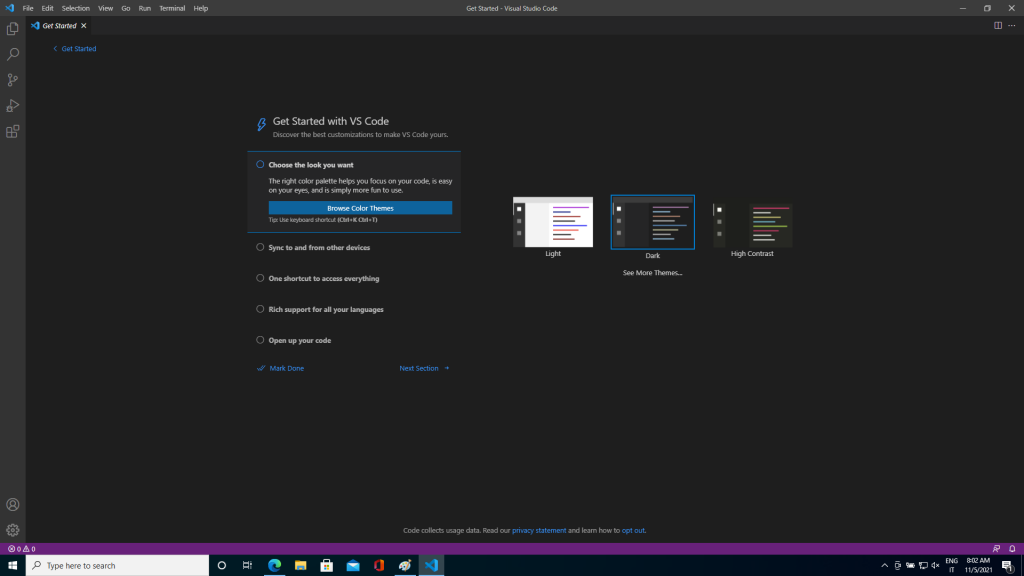
Before we begin, there are some more configuration steps which we will see in the next paragraphs.
Installing npm package manager
The acronym npm stands for Node Package Manager, which is a package manager for JavaScript. Npm contains millions of packages that you can use to build your own applications. The TypeScript compiler is available through npm, so let’s start…
One way to install npm is by installing Node.js on your PC, which is a server side JavaScript runtime. You can download Node.js at this address: https://nodejs.org/it/download/:
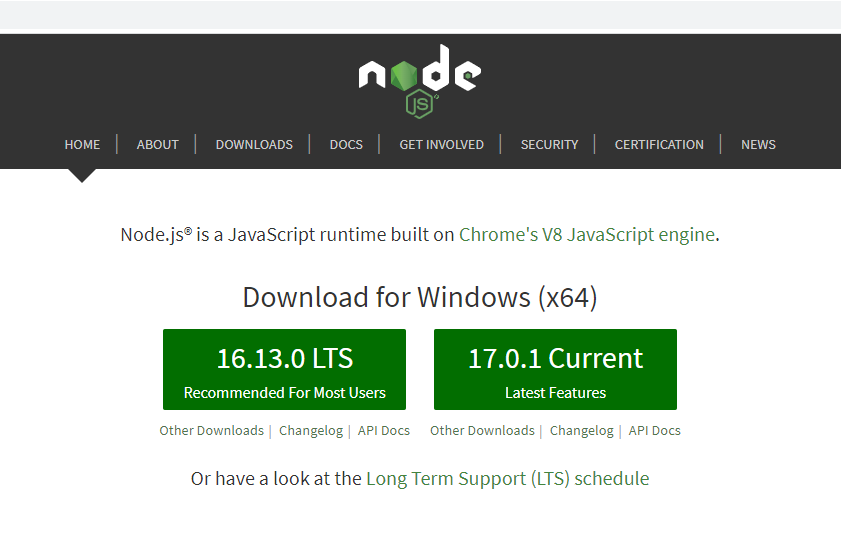
I usually download and install the recommended version, which at this moment is 16.13.0 LTS.
Execute the downloaded package to begin the installation.
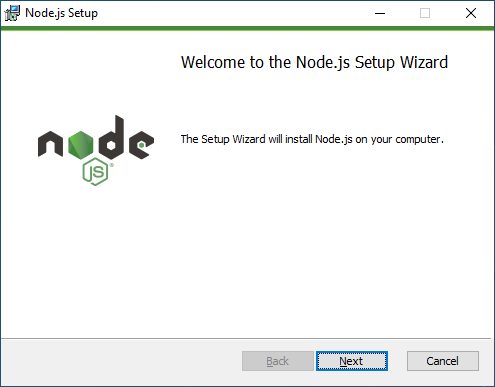
Like Visual Studio Code, the installation of Node.js does not involve particular problems and I usually stick to the default options. The only option I suggest you to select is the one you can see in the following step of the installation:
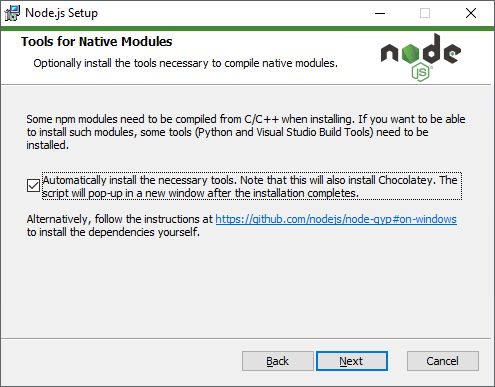
At a certain point during the setup, you will see a window like this:
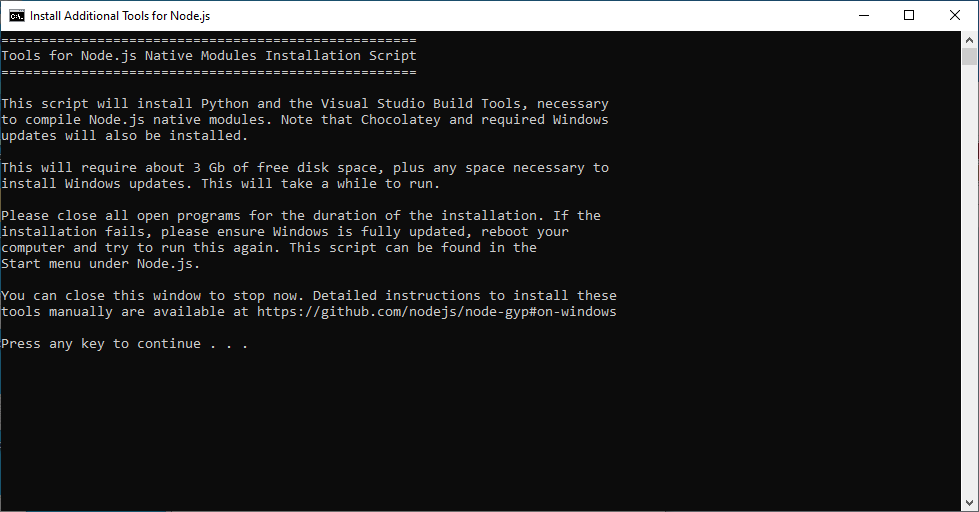
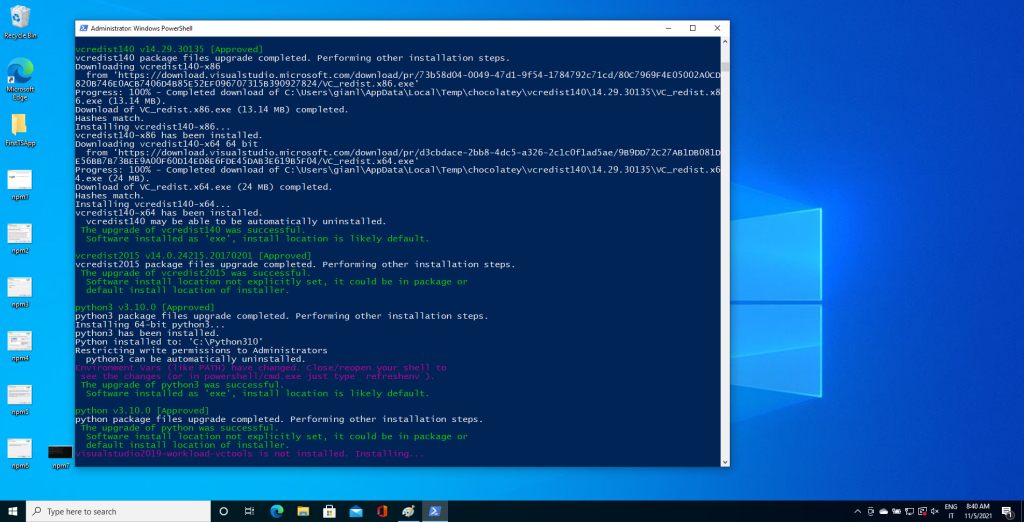
Like the window says, press any key to continue the installation… Consider that on my PC this step required several minutes, during which you will see a window like following:
Once the installation has been completed, restart Visual Studio Code to check if npm is working correctly.
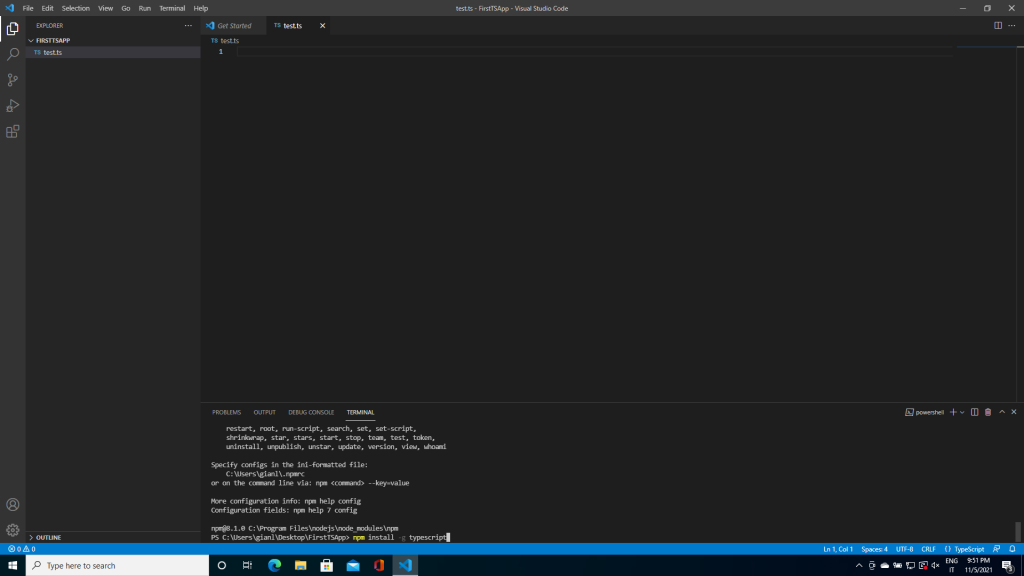
To do this, once Visual Studio Code is ready, open a new terminal window (click on menu Terminal -> New terminal) and simply type the command “npm”. If everything is ok, the npm command should respond, as can be seen in the next screenshot:
It can sometimes happen that instead you receive the message:
“The term npm is not recognized as the name of a cmdlet, function, script file, or operable program. Check the spelling of the name, or if a path was included, verify that the path is correct and try again.”
If that happens, close the current terminal window using the “Kill terminal” command
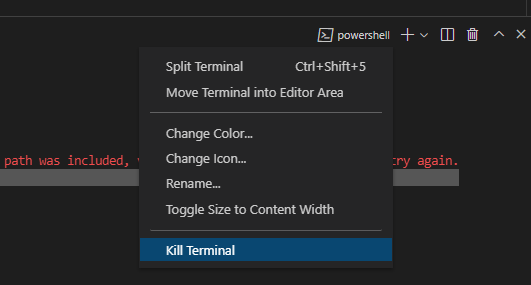
and open a new one like said before, then try again typing “npm” in the terminal window.
Installing the TypeScript compiler
To install the TypeScript compiler, simply type the following command in Visual Studio Code terminal window:
npm install -g typescript
To check if the TypeScript compiler is working correctly, just type the following command in Visual Studio Code terminal window:
tsc --version
that should return the the following message:
PS C:\MyTests\MyFirstTSApp> tsc --version
Version 4.4.4
Unfortunately, in some Windows environments, you may run into this error message:
tsc : File C:\Users\xxxx\AppData\Roaming\npm\tsc.ps1 cannot be loaded because running scripts is disabled on this system. For more information, see about_Execution_Policies at
https:/go.microsoft.com/fwlink/?LinkID=135170.
At line:1 char:1
+ tsc --version
+ ~~~
    + CategoryInfo          : SecurityError: (:) [], PSSecurityException
    + FullyQualifiedErrorId : UnauthorizedAccess
To solve the problem, run a PowerShell instance in administrator mode, as shown in the following screenshot:
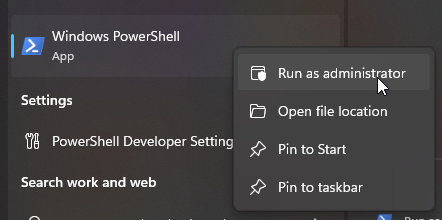
and execute the following command:
Set-ExecutionPolicy -ExecutionPolicy RemoteSigned -Scope LocalMachine
You will see the following:

Type “Y” and press enter to continue.
Now if you try again, the command
tsc --version
should print the TypeScript version just installed.
We have come to the end of this tutorial where we have seen how to set up a Visual Studio Code installation to work with TypeScript. In the next post we will see how to configure a basic TypeScript project with Visual Studio Code and we will explore some features of this development tool.
Don’t miss it!