In this tutorial we will become familiar with some useful basic operations needed to configure and edit jobs using TDP Robot Job Editor. We will also learn how to create a simple job that periodically checks disk space and sends a notification to a specific e-mail address in case disk’s free space falls below the minimum threshold.
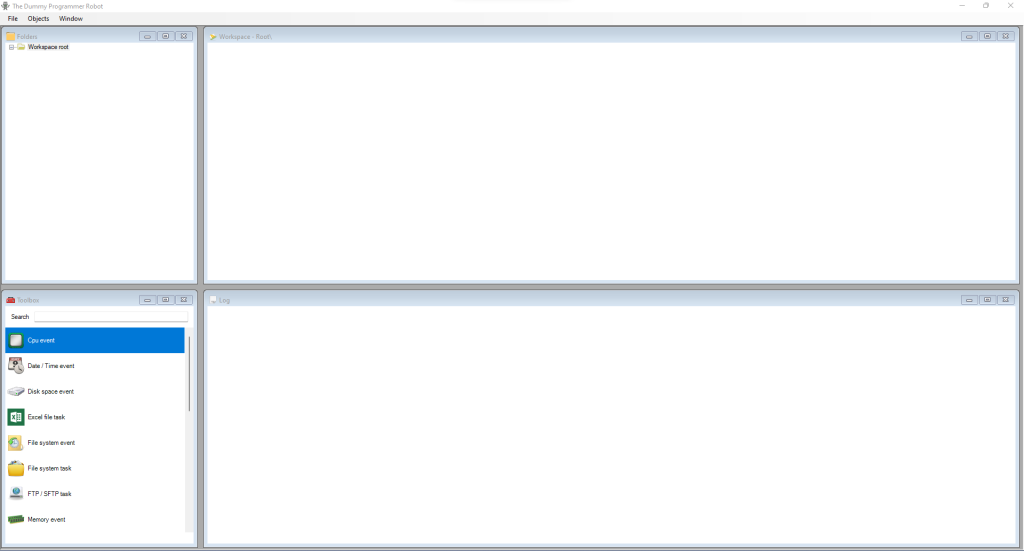
Let’s start by running TDP Robot Job Editor, which you can see in the following screenshot. Remember that, depending on your configuration, you may need to use the “Run as administrator” option to correctly use the Job Editor.

To keep things in order, we can create a new folder called “Check disk space” and create our new job there. Note that it is not essential to divide the jobs by folders but, as mentioned above, it can be useful for a matter of order.
To create a new folder, show the context menu by clicking the workspace area with the right mouse button and click the command “Create folder”. You can also use the keyboard shortcut “Ctrl + F”.

When you create a new object in the workspace area, it is given a default name. You can rename an object (folder, event or task) using the context menu that appear clicking the right mouse button on the object you want rename and clicking the command “Rename”. You can also use the keyboard shortcut “F2”.
So here is my workspace area after renaming the new folder.

Double click on the new folder to show the folder’s content, which now is empty. Note that the title of the workspace area changes, reflecting the current path:

Ready to create the our first job
After this brief introduction, we are ready to create our first job. As mentioned above, we want to create a job to check the disk space and notify someone if the free space is below a certain threshold.
From the Toolbox select the item “Disk space event”:

and drag and drop into the workspace area. Do the same for the item “Send e-mail task”:

Connect the two objects by pulling a line from one object to the other. You should come to this situation:

After this rename the two objects:

Double click the disk space event item to show the configuration window:

In the section “Disks to check” you can add as many disks as you want to check. To add a disk click the “Add…” button, and the following window will appear:

Select the disk you want to check and set the threshold. In my case I configured the event to trigger if disk space is below 10 gigabytes. Press “OK” to confirm.
Since I want to check every 30 minutes, I set the field “Check every” to 1800 seconds.
Configure the send e-mail task
Now it’s time to configure the send e-mail task. Double click on the task to show the configuration window:

As you can see, in the recipients list I added the destination email address.
I filled the fields “Subject” and “Message” with some simple content. Note the use of the dynamic data field enclosed in curly braces “{Object[5].DiskName}”. The dynamic data field “DiskName” is specific of the event “Disk space event” and at execution time will be replaced with the disk name that triggered the event.
If a field supports the use of dynamic data, you will find the button:

next to it.
Using the button above you can also browse the dynamic data published by each event / task you added in the workspace area.
Click the tab “Connection” to configure the SMTP connection:

As you can see above, you just need the necessary for the SMTP connection (sender e-mail, SMTP server, port, etc.).
Now we are ready… always remember to save your work using the menu in the Job Editor main window:

and to restart the Windows service “The Dummy Programmer Robot – Job Engine Service” in order for the configuration to be reloaded.
How it works
The operation is simple: the job will periodically check the free space on the disk. If it is below a certain threshold, the event will trigger and activate the execution of the object connected to it. In our case the task connected is “Send e-mail task”, which will take care of sending the notification email.