Suppose you are developing an ASP.NET application and you have to configure write permissions to a certain folder, maybe because you use it as temporary folder to write some data.
You don’t want to assign “Everyone – Full control” to the folder because you want to be the most restrictive possibile.
Following I’m explaining to you step by step how you can do this…
In IIS 7.5 and greater, you have to assign permissions to the user which runs your application pool.
Usually, when you create a web application in IIS, IIS also automatically creates a new application pool with the same name.
As you can see in the sample below, I created a new application named “TestApp”.
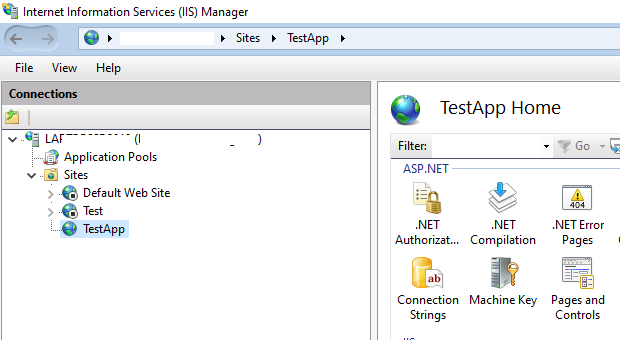
Now click on “Application Pools” and you will see an application pool with the same name:
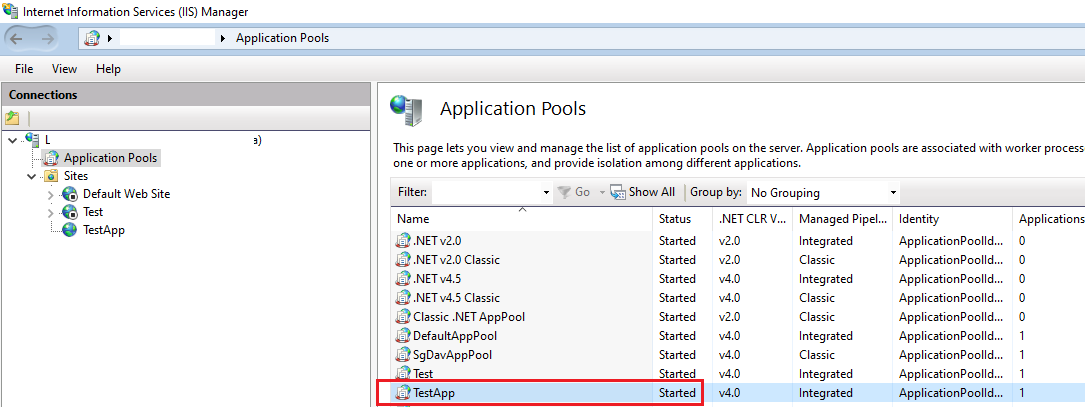
By default, an application pool runs under the Identity “ApplicationPoolIdentity”, as you can see in the “Identity” column.
Now create a new folder under “C:” named “TempFolder”.

Select the folder, click the right mouse button, click on “Properties” and then click on the “Security” tab.
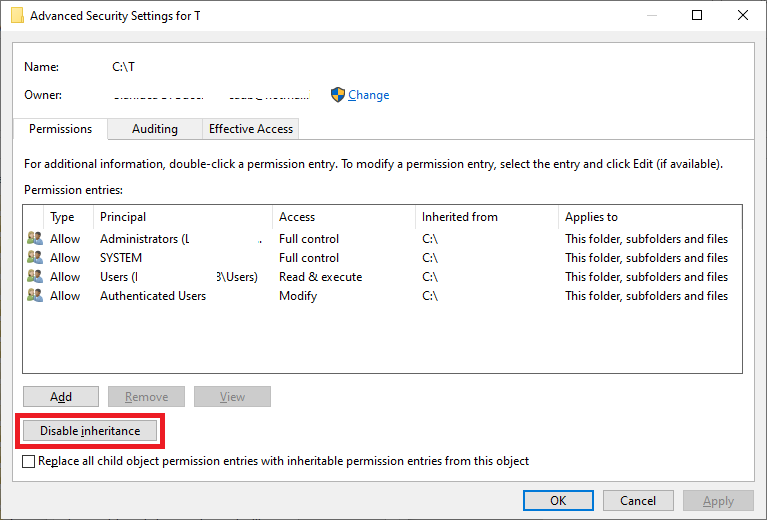
First of all I want to remove all the default permissions, except for the Administrators group and my current logged user, which of course is an administrator too. To do this, click on the button “Advanced”, and click on the button “Disable inheritance”.
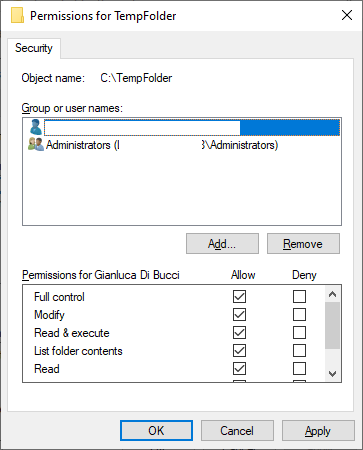
Then in the tab “Security” remove all the gruop and users, except the group “Administrators”.
I created an ASP.NET page that opens and writes a file in the folder with the newly configured permissions.
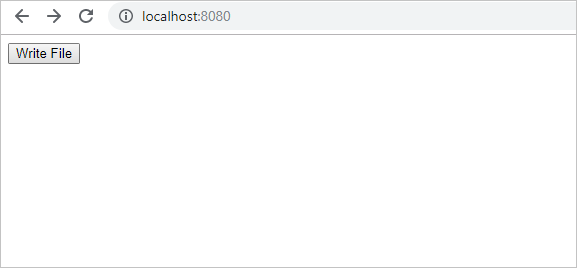
This is the code of the click “Event” of the “Write file” button.
protected void Button1_Click(object sender, EventArgs e)
{
   StreamWriter SW = new StreamWriter(@"C:\TempFolder\MyFile.txt");
   SW.Write("This is a test row!");
   SW.Close();
}
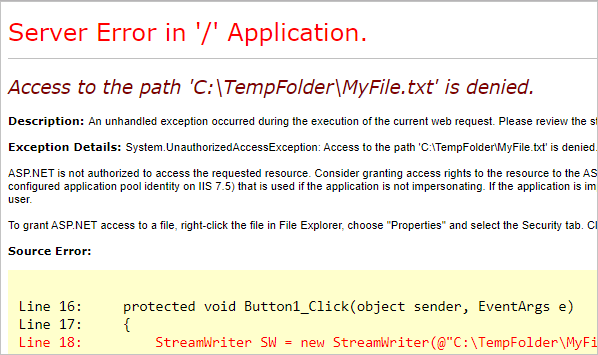
Trying to click the button, you will get an access denied error:
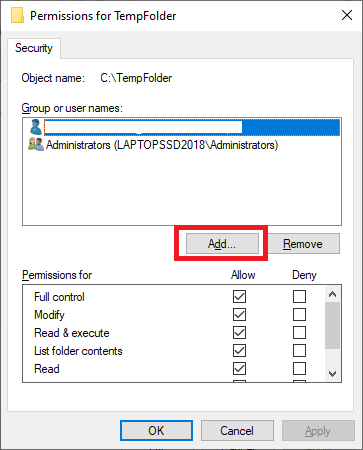
To solve the problem, go back to the permission window of the folder and click the “Add…” button:
You will see the following window:
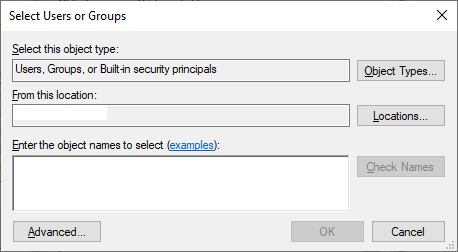
In the “Enter the object names to select” insert the string “IIS AppPool\TestApp” and click “Check names”.
Note that “TestApp” is the name of the application pool under which the web application run. This name will be different in your case.
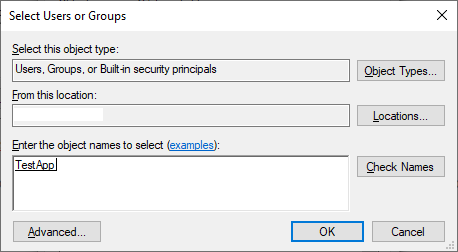
Now press “OK” to close the window. You will see a new user “TestApp” in the “Group or user names” list. Be sure to check the permission “Full control” – “Allow”, then press “OK”.
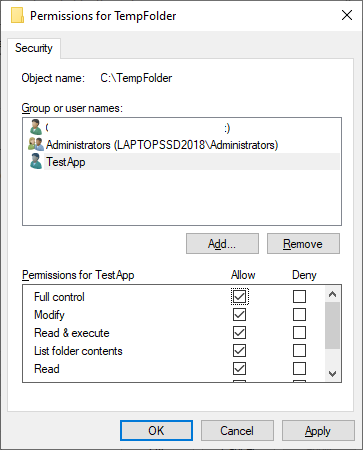
After this, if you take again the test page and click on the “Write file” button, the file will be correctly created!
Hope this helps!
Bye bye!!